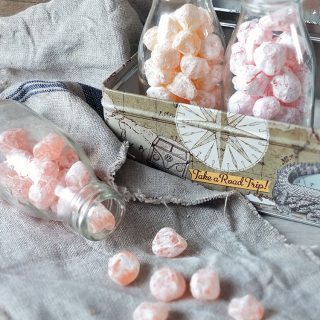
Making your own travel sweets is remarkably easy, once you get the hang of it. Colour and flavour these treats with your favourite flavourings, or just leave them plain. Post sponsored by Volkswagen.
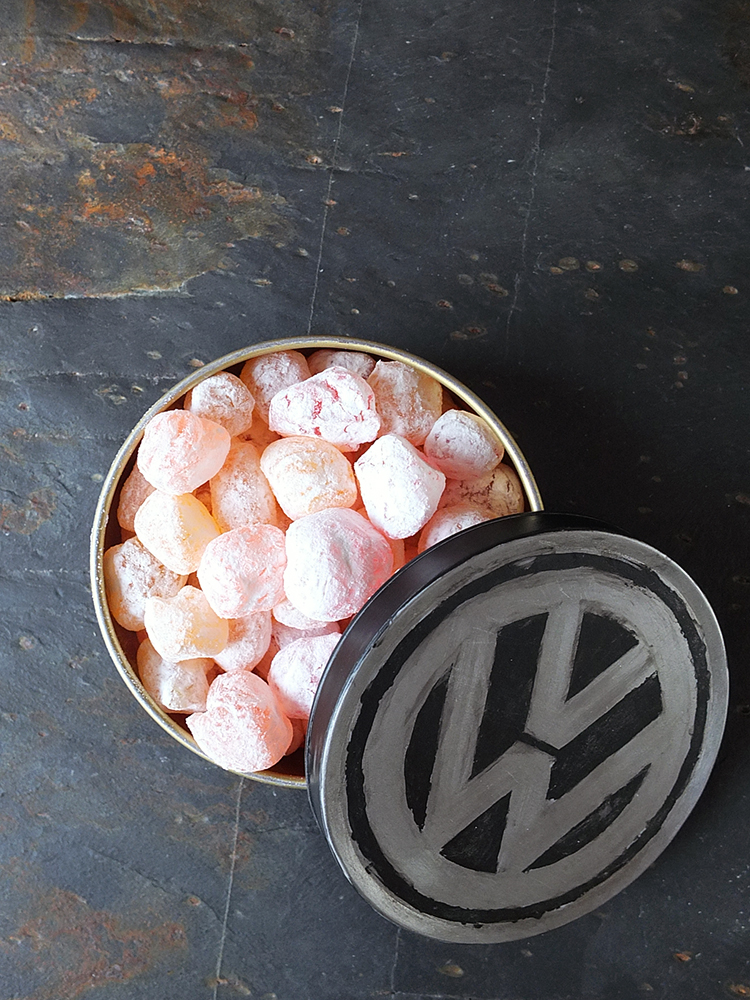
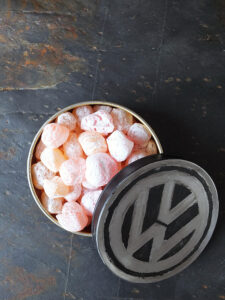
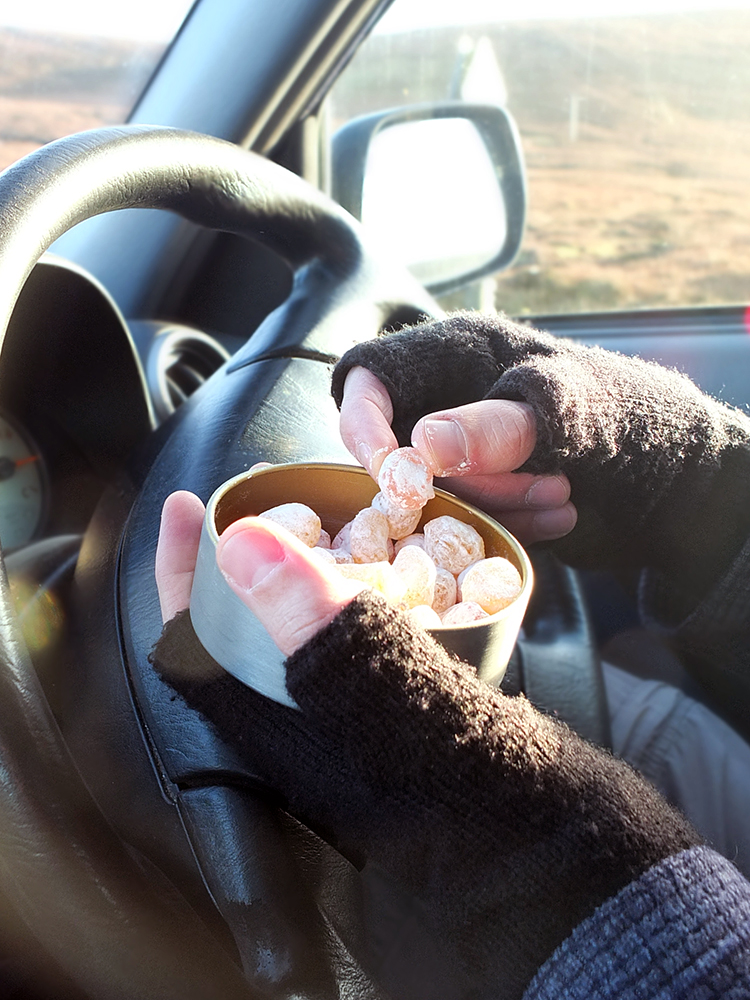
One of the key components of going on a road trip is that little tin of travel sweets hidden in the glove compartment or storage compartment in between the two front seats.
When we went on our epic road trip from Shetland to the Lake District and back up to Shetland via the Cairngorms a few summers ago we went through an awful lot of travel sweets. First, it gives you energy (driving can be really tiring), secondly, sucking on the sweets stops the kids from fighting with each other for at least ten minutes, am I right?
It’s really simple to make your own travel sweets. My sweets take about fifteen minutes to make, start to finish, and they taste fantastic if I do say so myself!

Working with boiling sugar can seem rather daunting at first, but trust me, it’s really quite easy. Make sure you have everything prepared in advance because once that sugar is boiling things happen really quickly, and secondly, invest in a good digital thermometer or candy thermometer. The key to success when making your own sweets is to get the temperature right, and a decent thermometer will take the guesswork out of this for you.
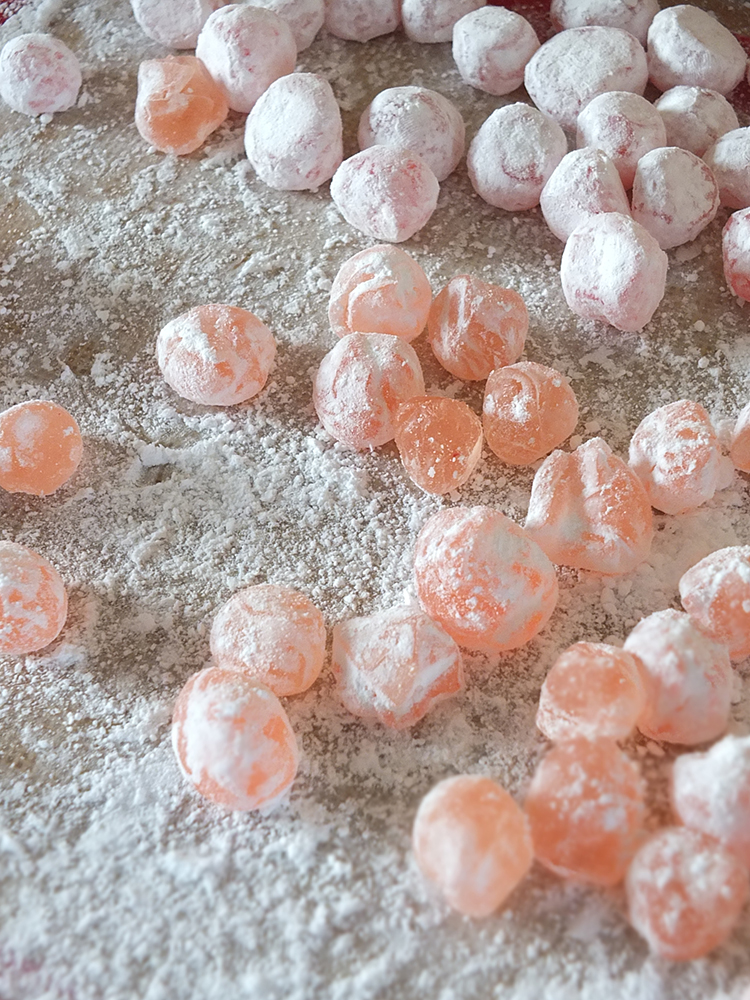
It also helps if you’ve got someone there with you to help roll the sweets in icing sugar. This step isn’t required, to be honest, but it helps the sweets from sticking to each other in the tin. Set up your workstation so that you’ve got a cold, oiled marble slab to pour your sugar syrup over, and get your friend to stand next to you ready and waiting with a bowl of icing sugar in front of them.
Traditional boiled sweets contain only a few ingredients – sugar, liquid glucose (available in the baking section of your supermarket), water and a tiny bit of cream of tartar as a stabiliser to help stop the sugar from crystallising.
I’ve added a few drops of flavourings and matching colourings to my fruit drops – a mixture of lemon, orange, and strawberry.
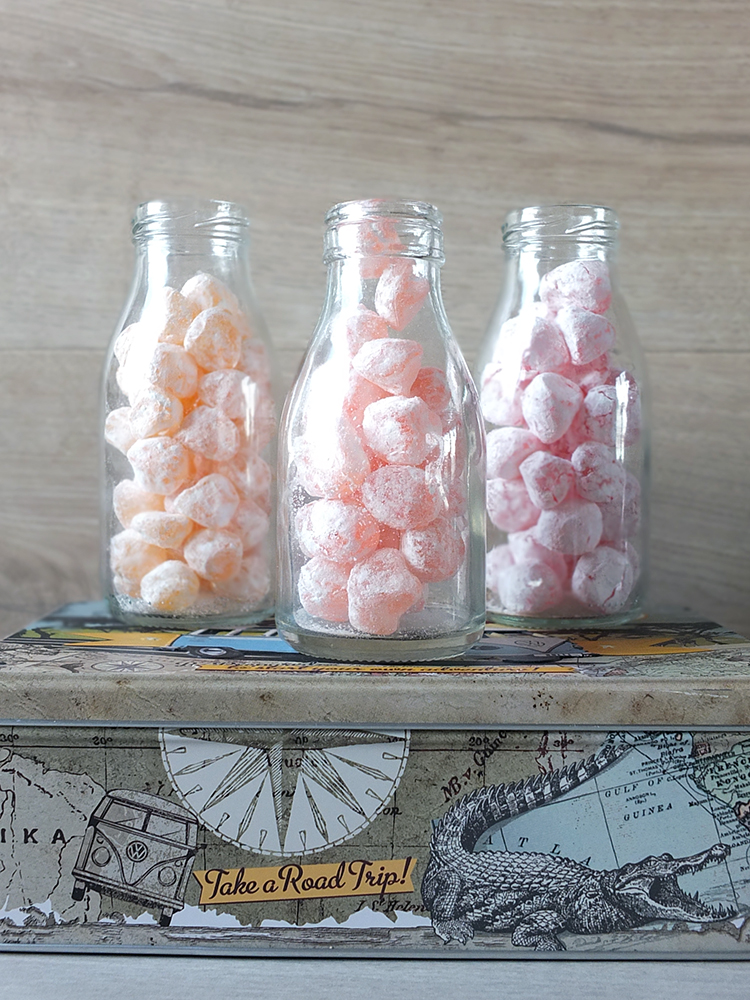
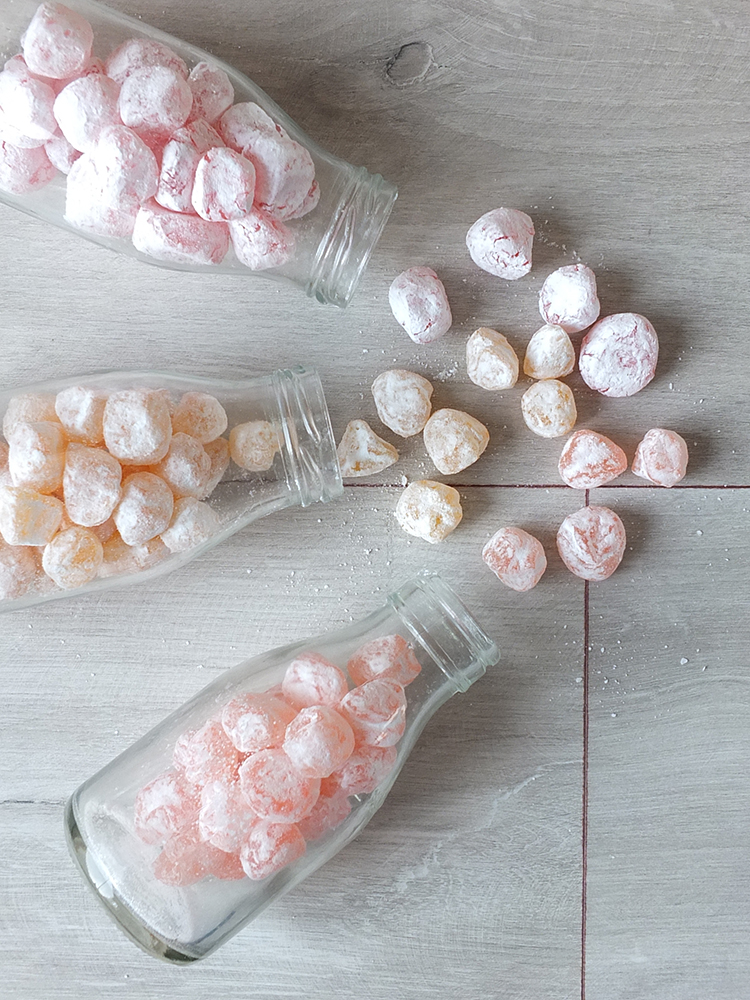
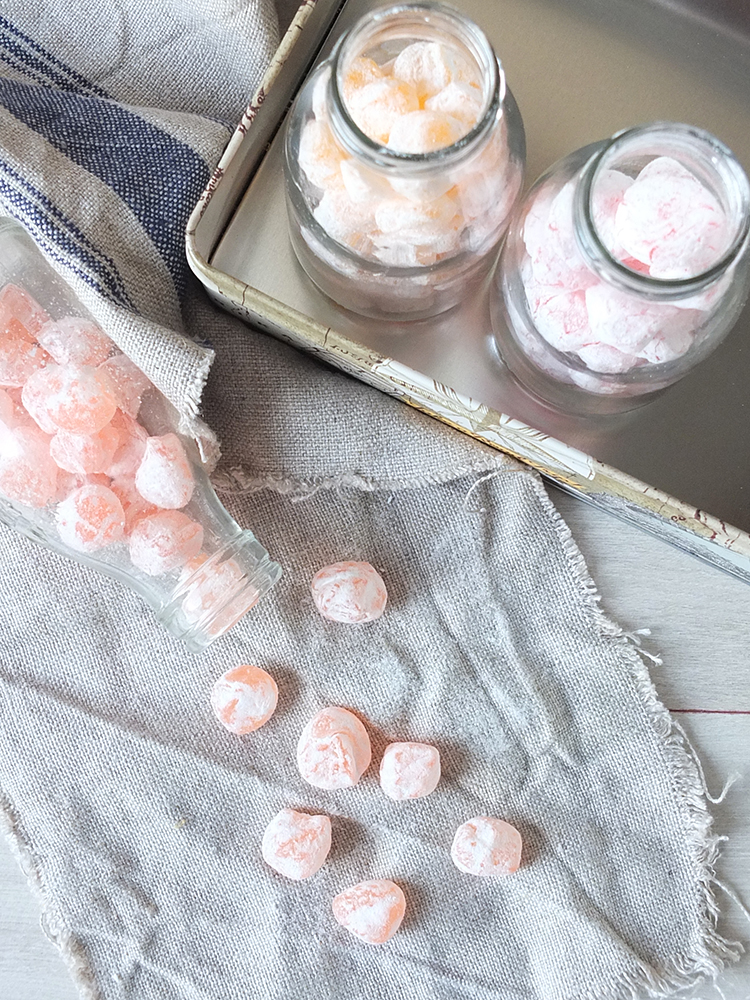
Each batch of these fruit drop travel sweets makes around 300 grams of sweet, so there’s plenty to share with friends and family if you want. Mix them up and gift them in a nice bottle or travel sweet tin.
What’s your favourite treat to eat in the car while you’re travelling? Let me know in the comments!
Fruit Drop Travel Sweets
Ingredients
- 225 grams granulated sugar
- 80 ml cold water
- 1.5 tsp liquid glucose
- 1/8 tsp cream of tartar
- 5 drops flavourings (strawberry, lemon, orange, etc).
- gel food colourings as desired
- icing sugar to dust
- vegetable oil
Affiliate Links
This recipe card may contain affiliate ingredient and equipment links. As an Amazon Associate I earn from qualifying purchases.
Equipment
Instructions
- Get all the equipment you need ready first. Lightly oil your marble slab (or a large baking tray), your scissors and a dough scraper. Place the lid for your pot nearby. Set a timer for 3 minutes. Place a bowl of icing sugar on your work surface beside the marble slab and a plate or silicone mat to place the finished sweets onto.
- Heat the granulated sugar, water and liquid glucose in a small saucepan over a medium-high heat (I use #4 on my hob), stirring with a wooden spoon until the sugar has dissolved.
- As soon as it begins to boil (it will happen quickly), add the cream of tartar, stir until it dissolves, pop the lid on the pot and switch the 3-minute timer on. Don't touch the pot!
- After the 3 minutes is up, remove the lid and check the temperature every 30 seconds or so. DO NOT STIR THE SUGAR or your sweets will crystalize.
- When the temperature has reached 150 C, switch the heat off, add your colouring and flavouring, if using, stir (and wait a moment while the bubbles subside).
- Carefully pour the hot sugar mixture over the marble slab, using the oiled dough scraper if it looks like it's getting too close to the edge.
- Leave to cool for a minute or so until it's cool enough to handle (don't leave it too long as it hardens quickly). Using your oiled scissors and oiled hands, work quickly and cut off small pieces of the sugar mixture, roll into a ball and place in the icing sugar.
- Leave the sweets to cool completely and store in an airtight container.
- Repeat two more times with the remaining colours and flavours.
Why not listen to an audiobook while you cook?
Amazon is offering 3 months of Audible for only 99p. Alternatively, sign up for a free 30-day trial of Amazon Music Unlimited. Offer ends 1 May 2024.
This is a sponsored recipe post commissioned by Volkswagen, although all thoughts and opinions expressed are our own. Thank you for supporting the brands who make it possible for me to do what I love: mess up my kitchen and share recipe stories.
 Review: Our Top Ten Health & Fitness Picks
My go-to recipe for boiled sweet making. Instructions and quantities work perfectly. Only difference is I use granulated Demerara sugar as I find it more stable but this will make a darker sweet and a slightly more caramely/buttery note. Now onto experimenting with different flavours, colours and citric acid. Thanks!
Oh wow! Thank you so much for putting a smile on my face this morning! What a super idea with the granulated demerara sugar too – I bet it lends a lovely flavour! Happy sweet making!
omg that looks amazing
I must make someday!!!!
These look so tasty! I’m thinking about making them as gifts, how long would they last in an air tight container?
Thanks
They last a few months, I’ve discovered, but they do go soft and pale after a while as boiled sweets do – I’d recommend making them closer to Christmas time instead of earlier. 🙂
Hi! Going to make this weekend, but wondering if it would be okay to pour the mixture straight into silicone moulds, eg heart shaped ones? Would I need to oil the moulds first? Grateful for any advice xx
I don’t see why not, to be honest, that’s a really good idea! You could also pour it into small circles to make lollipops. I hope you enjoy them! 🙂
Oh yum!! I love buying these from the store! I didn’t know that they were this easy to make!
This is great and looks tasty. Love that they are so easy to make and both kids and adults would love them.
Im really excited to try these in the near future. They remind me of travelling with my Nan. Never without a tin of fruit drops! I don’t think I could skip the icing sugar. Licking the sugar from the bottom of the tin was always my favourite bit!
If I can find liquid glucose, I am definitely going to give these a try! They look soooo yummy! 🙂
I just love this so much! I don’t have all the ingredients but when I do, I’m making these fruit drops!
This looks inviting. I love sweets. Maybe I’ll make some in the future. I can use them when I travel. Yum!
Omg can we say yum?!?! I must give your recip. Try
Omg, This is so interesting! This is the first time that I heard this and looks so much fun. I ould love to give it a try
I think these candies look absolutely DELICIOUS! This is such a well put-together post. I love the ‘VW’ tin cover.
Love this recipe, I was wondering would it be ok to add some citric acid to them and when would you suggest adding it whilst cooking, start or when adding cream of tartar of at the end? Thanks for a great and easy recipe!
I would add it at the same time as the cream of tartar at the end, for simplicity. Let me know how you get on with it! I’m glad you like the recipe, and stay safe! 🙂
Wow! This is pretty awesome! It’s nice to be able to make handmade candies. Thanks for the detailed instructions, they’re really lovely.
I love having something to much on while travelling! I prefer crunchy and salty as opposed to sweets though.
Thank you for this, I will be trying this out when my grandson comes over I can have him help me with the icing sugar! They look simple, and delicious thank you for sharing!
I’ve never made anything like this before. I’ve got to try them because they sure do look good.
They look scrumptious! I love having a little stash of sweets in my car, just in case I ever need a sugar dose while driving long distances 🙂 I had no idea it’s so easy to make them though…!
Travel sweets are a necessity in our car! Never thought of making my own as I’m always worried about the booing sugar aspect but your directions make it sound fairly easy to attempt!
There is so much goodness in that recipe. Wish I had this recipe last week for fruit drop.